
DIY projects are a fun and creative way to add a personal touch to any event. Mermaid-themed parties are all the rage, and what better way to celebrate than with a DIY mermaid birthday number? This project is easy to complete and will add a magical touch to any birthday celebration.
To create this DIY mermaid birthday number, all you need is a wooden or cardboard number, some paint, and a few decorations. The first step is to paint the number with a base color, such as blue or green, to represent the ocean. Once the base coat is dry, you can add details such as scales or waves using a different shade of paint. Finally, decorate the number with seashells, starfish, or any other mermaid-themed decorations you can find.
This project is perfect for anyone who loves mermaids and wants to add a unique touch to their birthday celebration. It’s also a great way to get creative and involve kids in the party planning process. With just a few materials and some imagination, you can create a beautiful mermaid birthday number that will leave a lasting impression on your guests.
To make this, here is what you’ll need:
- 1 Large flat piece of cardboard to cut out your number
- Several sheets of cardstock in your desired colors (I used 4 12×12 sheets and had a few circles left)
- A circle cutter or cutting machine to cut your circles
- Elmers Glue
- Utility Knife (scissors could be used here as well)
- Scissors
- Ruler
- Ribbon & Hot Glue if you want to hang your number
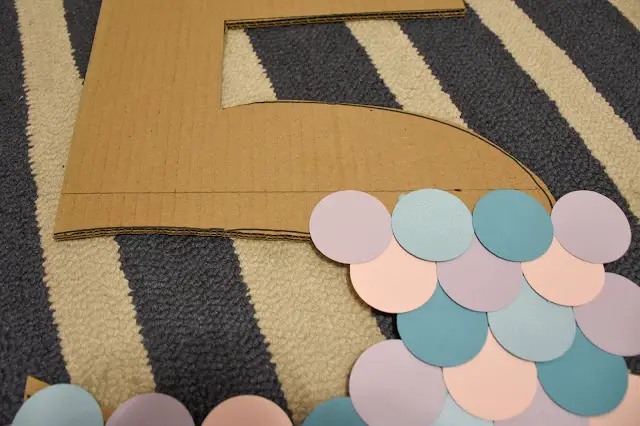
To start, draw out your number on your cardboard. I freehanded mine and used a ruler to keep straight lines where needed. Grab your utility knife to cut your number out. You could definitely use scissors here, just be careful not to bend your cardboard too much.
You’re also going to want to get your circles cut out. I used my Silhouette Cameo to cut 4 12×12 pages full of 2″ circles. Use your judgment on what size circles you think will be fit your number and give you the look you’re going for. I thought these were perfect for my 20″ number 5. And also keep in mind that the smaller you cut your circles, the more you’re going to have to glue on! 🙂
Once you have your number and circles cut out, you’re ready to start gluing. To make sure you have nice straight rows of “scales”, choose an area at the bottom of your number to draw a straight line. You’re going to want to do this as close to the bottom as possible, while still having enough space to get started as you’re going to have to go back in and slide circles under this row to fill in under your line. Moving up from your line, you’ll just be overlapping.
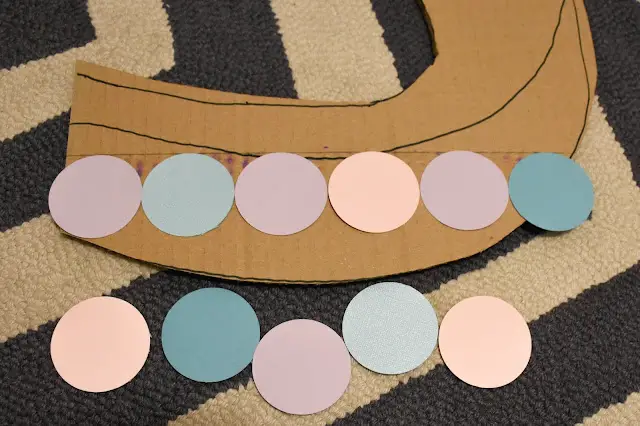
Pardon the extra black lines here, it took me a few tries to get my five how I wanted it 🙂 Notice the straight pencil line across the bottom of the five that I used to line up that initial row of circles? Just glue down the top half of this first row so that you’ll be able to go back in and fill in under those.
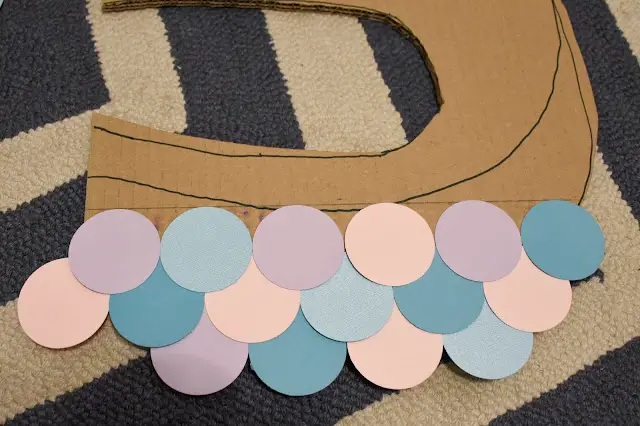
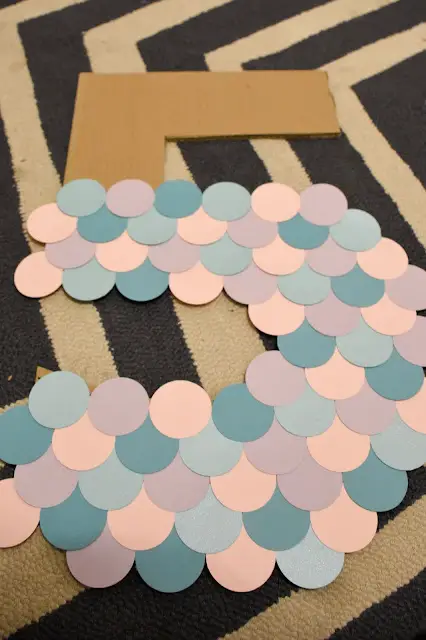
Once you have completely covered every teeny bit of your five under that first row, go ahead and start building on top. Line each circle up so that it completely covers the cardboard underneath and is half staggered between each of the circles under it. Basically, every other row should create a straight verticle column of circles to keep everything spaced evenly. Just keep layering.
Once I got up past the curve of the five, I went ahead and added another straight line to use as a guide to make sure everything was staying straight.
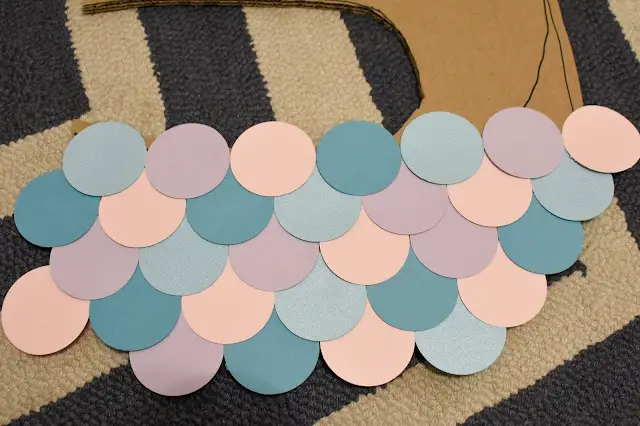
Keep layering and layering!
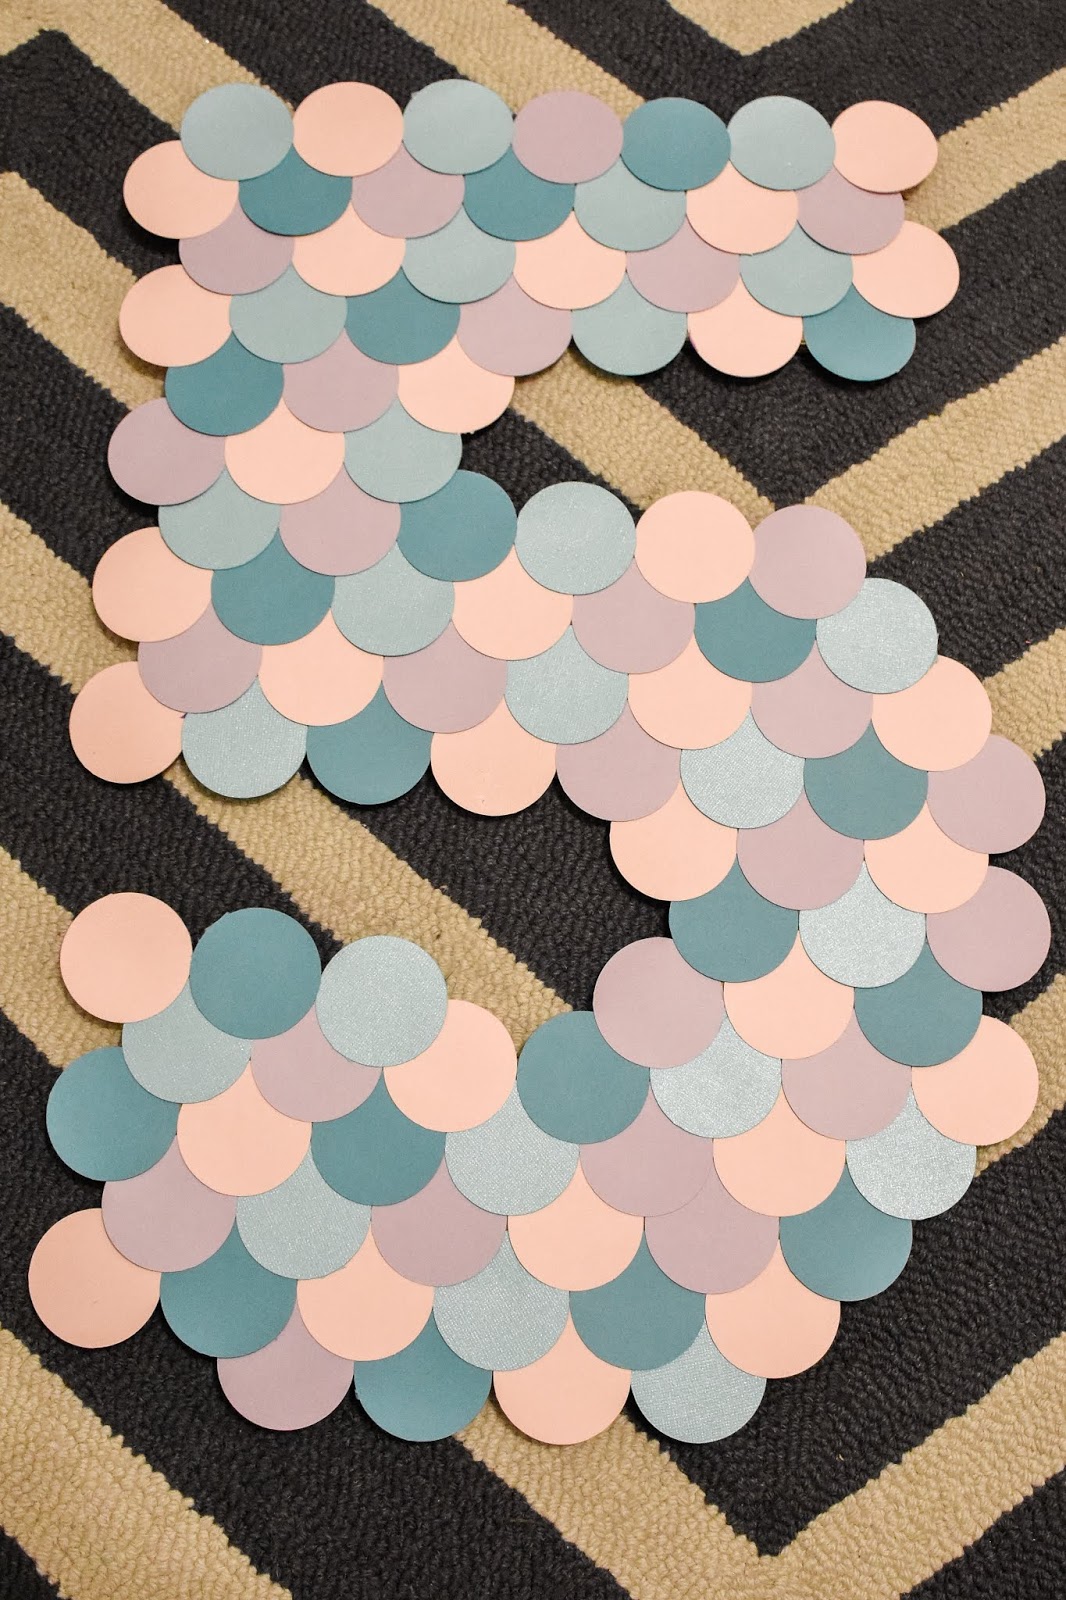
And add guidelines any time you feel like you may need it, or have a nice wide area to add one which will depend on what number you’re working on.

(As you can see I didn’t think to add this line until after I had started, and it’s helpful to see how just those little bits being off could add up to a problem if you’re not aware.)
Here is what you’ll end up with. Pretty cute as is I think, but not quite looking like scales yet. Go ahead and let it dry completely. I left mine overnight.
Once your glue is dry, flip it over and you’re going to start trimming away the excess.
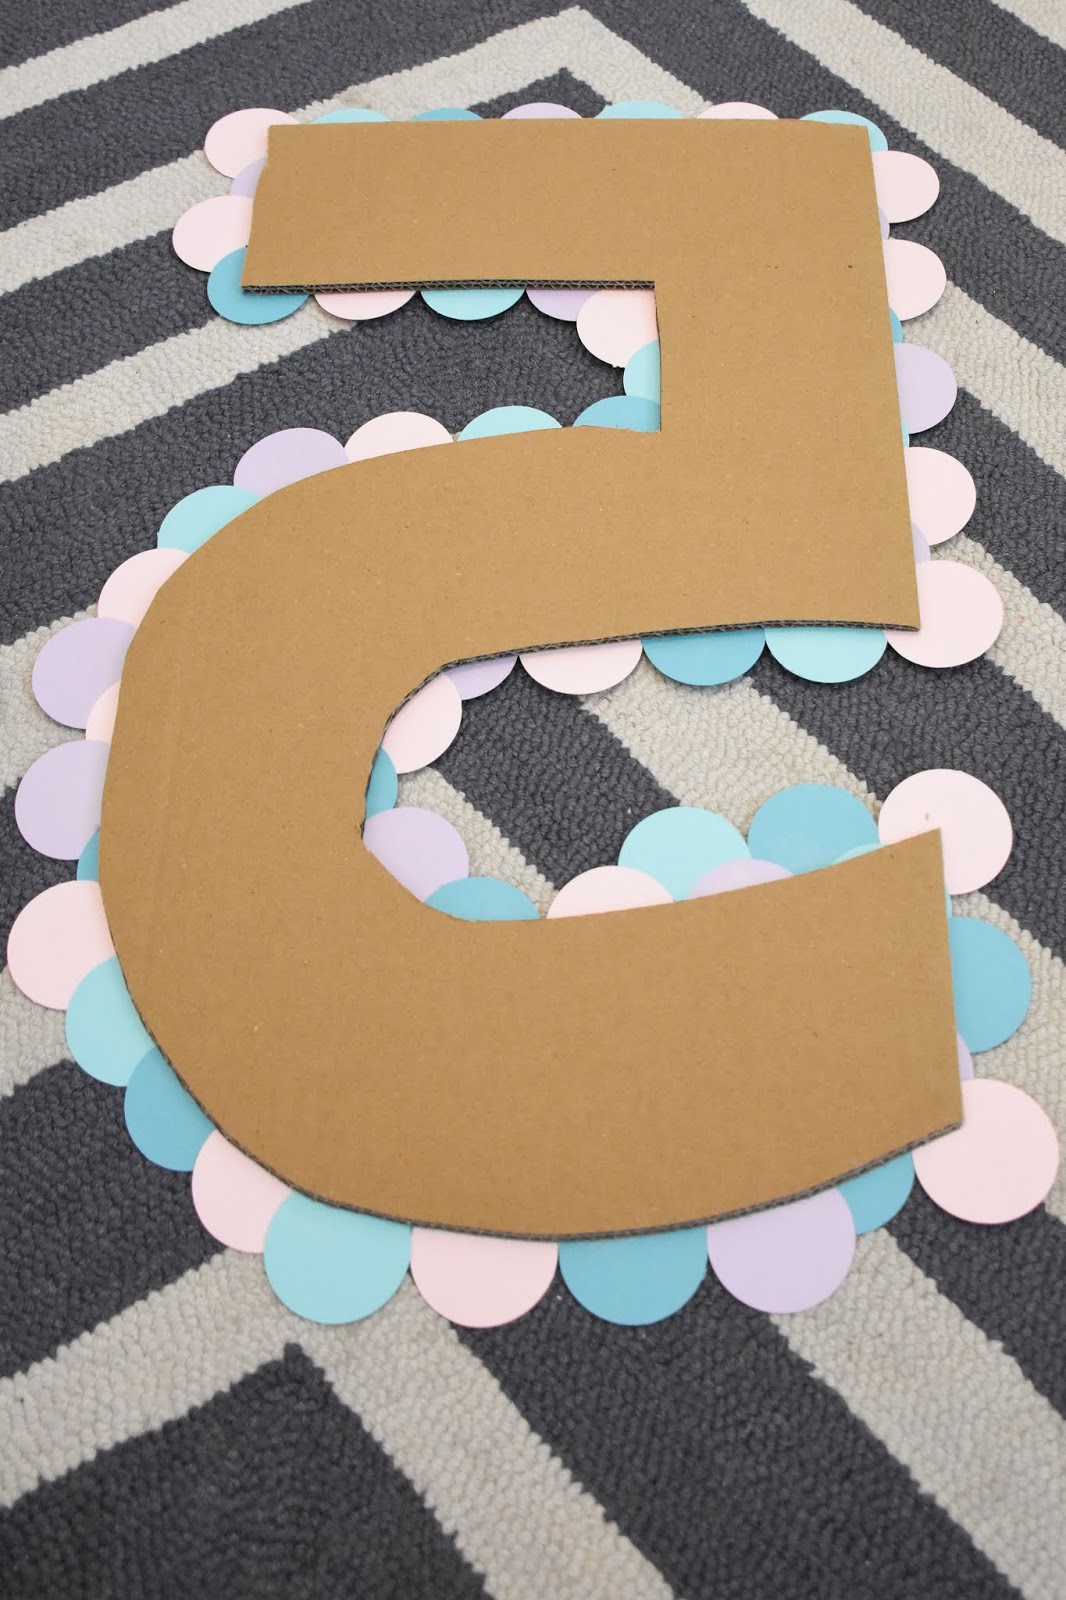
Leave a bit of overhang so that the cardboard won’t be immediately visible from the sides.
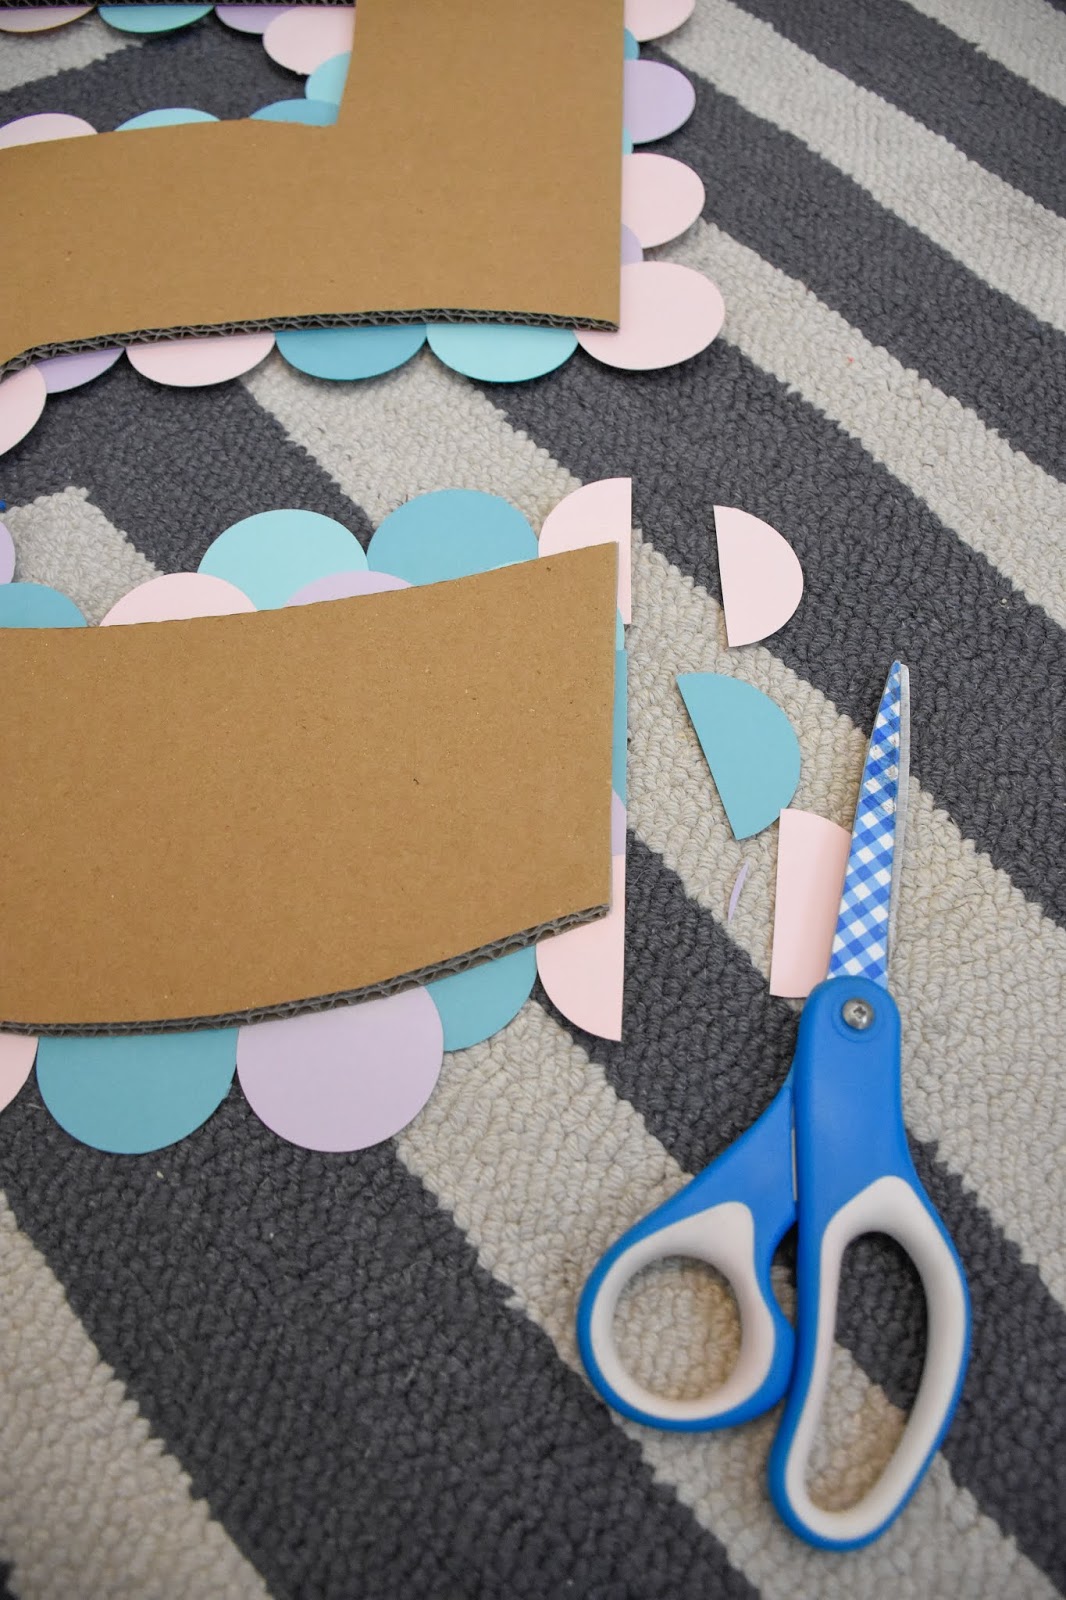
Keep cutting all the way around. I didn’t have any circles fall off, but if you did, just pop a bit of glue on and replace it. No biggie!
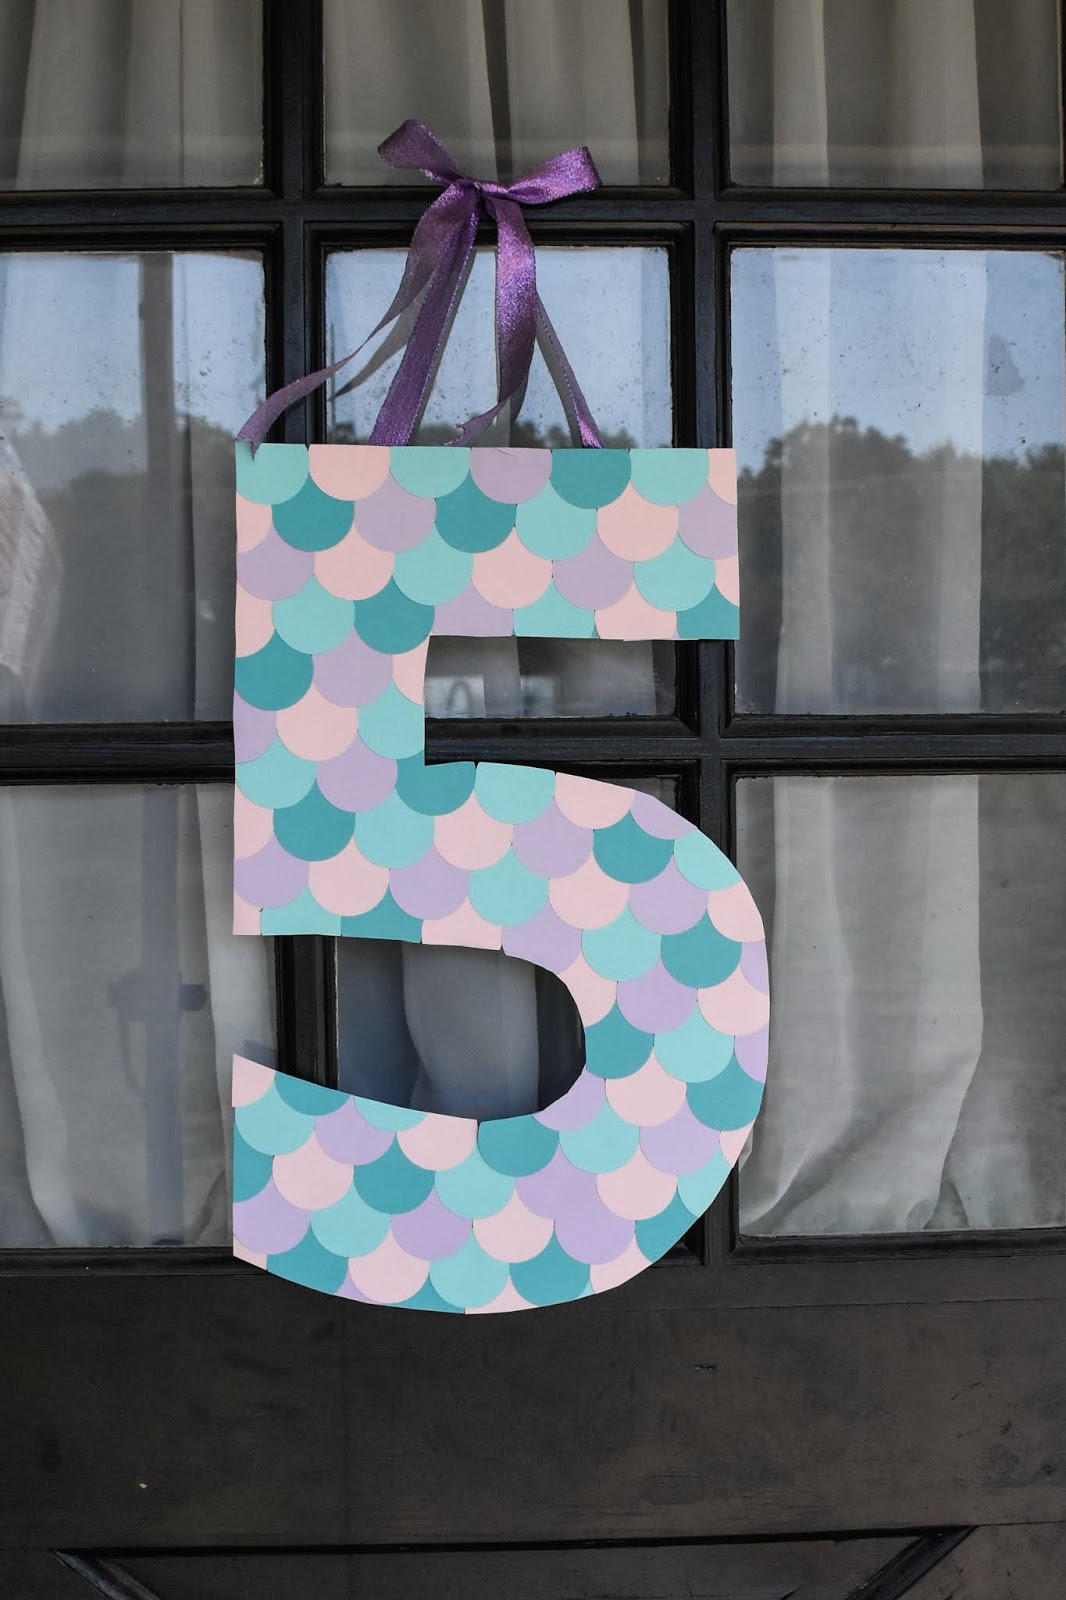
This will make an adorable photo prop as it is, or you can add a bit of ribbon to hang for a party decoration.
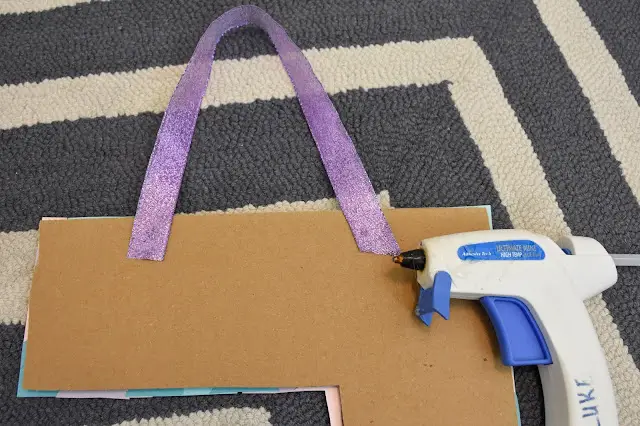
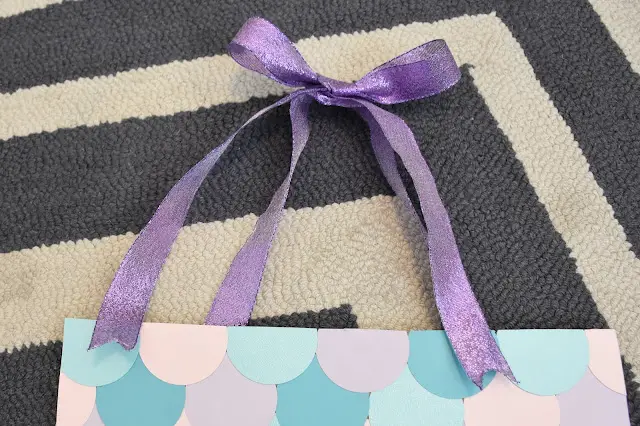
I’d say do both! Cute birthday photos first, then party decoration next! I think I’ll even hang this on Adelaide’s bedroom door or in her room after her party. It’s too cute to recycle right away!
Good luck with your mermaid numbers and I’ll be sure to share any other fun ideas I come across as I plan her mermaid party!